
Teachers are a special genre of caring individuals! They have plenty of children and educating to keep up with, so remaining organized will aid in their worthy work!
First, a note for teachers: Thank you for loving, maturing, and educating our children! The phrase, “It takes a village to raise children” is true, and we’re grateful to partner with you.
Second, a note on organizing: Please label everything – for the sanity of the teachers and ease for the student. Purchase a label maker or invest in stickers and permanent markers. You’ll be glad you did!
Now, onto the best organization tips for teachers!
1 – Clear plastic boxes and bins
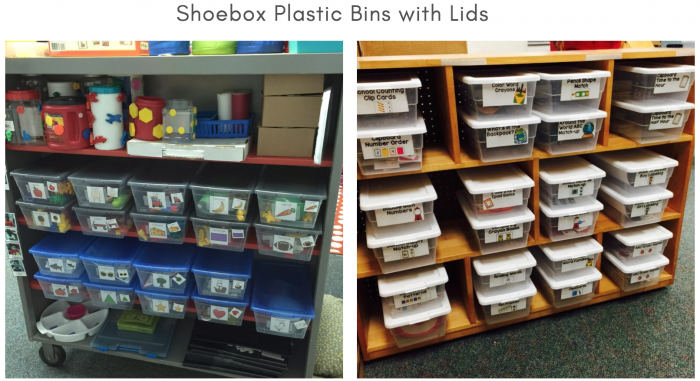
If you haven’t discovered the beauty of clear plastic bins, you’re in for a treat! Yes, some things can be stored away in containers that are not clear. But for items that your students need access to, such as writing utensils or colored paper, you need clear containers.
Here’s the expert teacher tip on clear plastic bins and boxes: Label everything. Seriously, you should label:
- The side of the bin that is most visible.
- The lid (so students always know which lid goes with which container.
- The inside bottom of the bin, so they can see exactly what is/isn’t supposed to be inside.
- The shelf that the bin goes on.
If nothing else, think about how you will be asked less questions from confused students simply because they can visibly see what they’re looking for!
2 – Clear plastic drawers
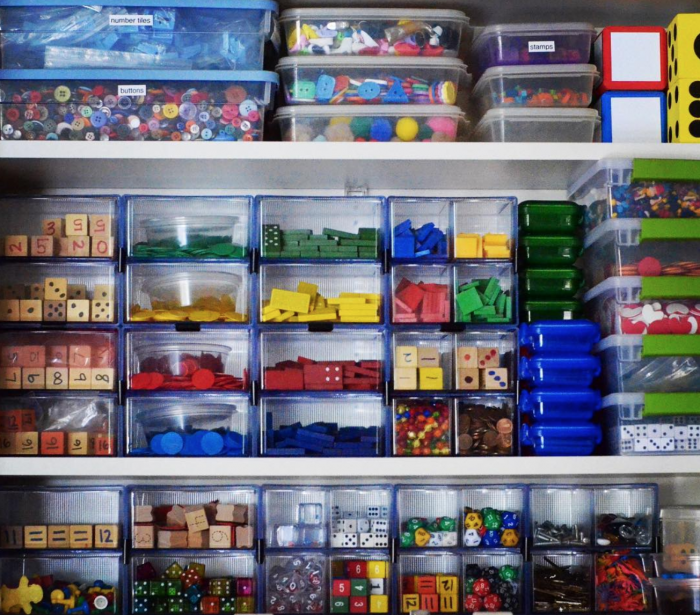
Just like the clear plastic boxes and bins, you will want to use the same method for clear drawer organizers. The entire drawer can be removed to function as a bin. Place a label or photo on the top of the bin to show where each drawer goes.
Expert teacher tip: Use these clear drawer organizers as a way to store board games. Because the boxes always get ripped or smashed and then the game pieces get lost. Instead, cut the board game title off of the box and attach it to the front of the drawer. Include all of the game pieces inside, using zippered bags when necessary.
3 – A unit tower
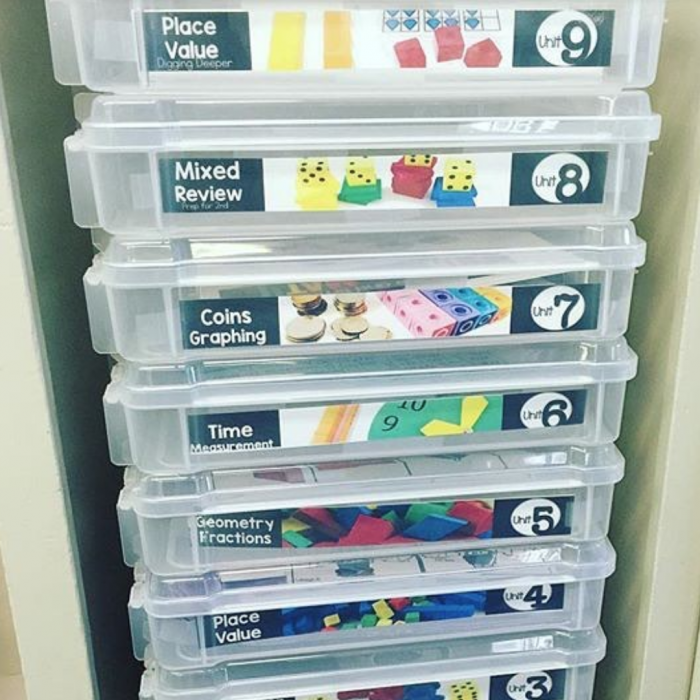
Find a tower of drawers, a slim bookcase with an abundance of shelves, or stackable plastic “briefcases.” Use this as a method to organize based on units or thematic lesson plans.
Expert teacher tip: Want to be extra organized? Copy the heading from your textbooks, then cut it out to fit into the drawer fronts.
4 – Wine rack and cups
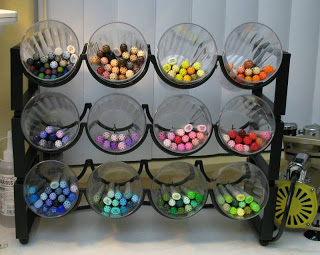
No, you’re not encouraged to drink wine while teaching. However, you can refurbish a wine rack as an organizational tool!
Place large, sturdy plastic cups into each wine bottle slot. Now, fill the cups with things like pens, pencils, or crayons. You can easily see what you’re looking for since the cups are facing outward, and it’s also convenient for students to grab a cup and take it to their desk.
5 – Utility cart
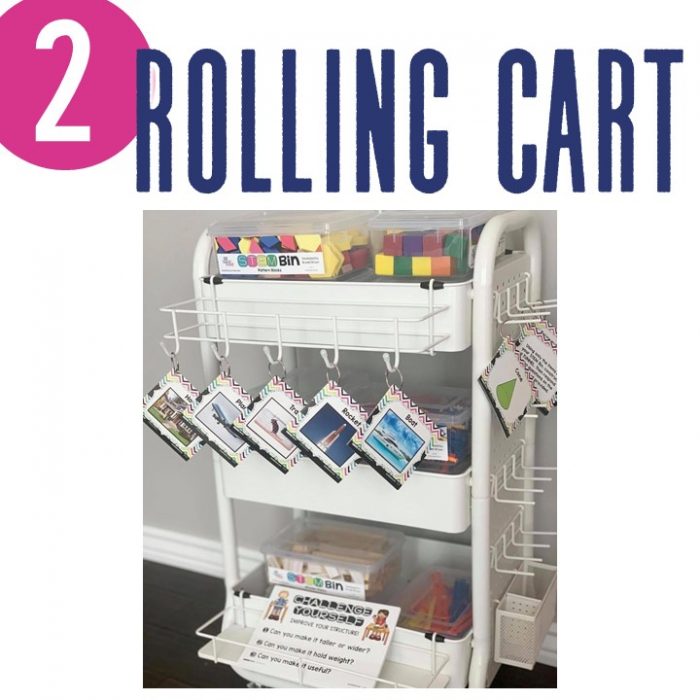
Have a rolling cart with buckets and bins and jars full of every possible craft item your students could want. Use old mason jars for markets, baby food jars for paper clips or rubber bands, baskets for scraps of paper, cardboard boxes for recycled craft items, or gift bags for fun accessories.
This is also an excellent way to recycle craft supplies like scrap paper or bits of string or random beads that you don’t want to throw away…your kids will think this utility cart is a treasure chest!
Expert teacher tip: Attach buckets to the side of the utility cart with S hooks. This expands the storage capacity with useful buckets that students can grab. Label the side buckets with individual students names so they can each have their own bucket of items.
6 – Extra large bins
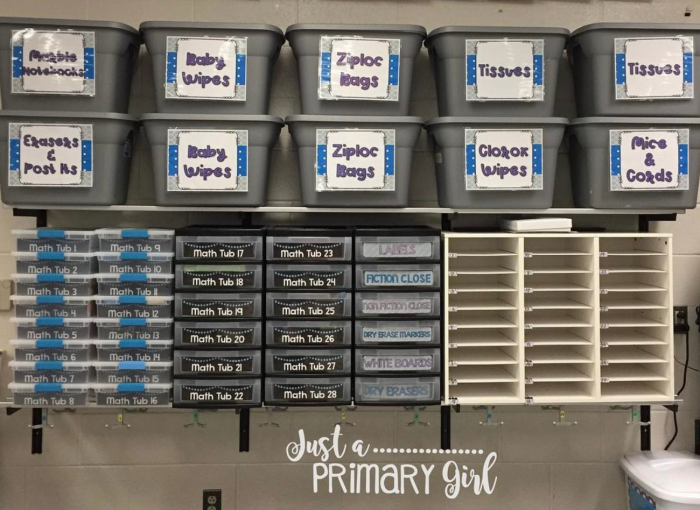
As a teacher, you always have those extra boxes of tissues or bottles of hand sanitizer. These are valuable but not immediately necessary. Store them in large bins up high on a shelf. Of course, label these bins so it’s easy to find when you start looking for things.
Expert teacher tip: Don’t forget that things like seasonal activities, holiday decorations, and end of the year materials can be stored in these bins as well.
7 – Crates as filing cabinets
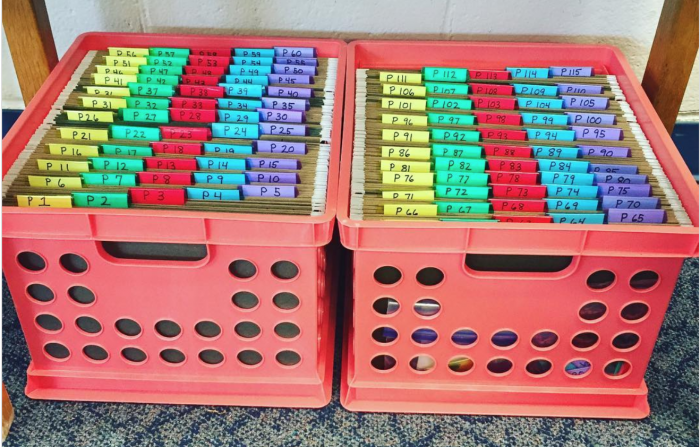
Crates are colorful, stackable, and an excellent tool for organization! Hang file folders in a crate to organize…anything and everything!
- As a mailbox system for students to pick up their graded work
- Where students can turn in their homework assignments
- A system to organize your daily lesson plan by hours or activities
- A method to organize your weekly lesson plans
- A handy place to store original documents, extra copies, or frequently used materials.
- Especially when you lesson plan and copy things ahead of time
8 – Home Depot aprons for student organization
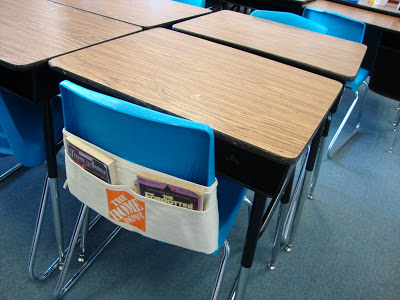
Students spend a significant part of their day at their desk. Many times their backpacks or materials are stored in a different part of the classroom or in their locker. Rather than placing chunky organizers on their desks, attach them to the back of their seat!
Purchase Home Depot aprons for less than one dollar, and tie them around the back of each chair. Now every student has a handy and accessible way to organize their personal items.
Expert teacher tip: You can also tie aprons to door handles, rolling carts, and hanging hooks.
9 – Return address labels/stamps
This may be the last organizational tip for teacher’s classrooms, but it is possibly the most important. Yes, you should label everything. You should also put your name on everything!
Purchase a roll of address label stickers and only include your name on them (and classroom number or school if you don’t think you’ll be moving soon). You could also buy a stamp that reads, “From the classroom of Name.” Stamp that onto boxes, inside of books, attached to buckets and bins.
Expert teacher tip: Don’t want to literally place your name on everything? First, lay a piece of painter’s tape onto the item (a bin, inside of a book, etc.), then add your name sticker or stamp. That way you can remove the painter’s tape without damaging the item.
Take the time to get organized, and you’ll have a smoother school year!
Take the time to organize your classroom and materials. If you begin the year with everything in its place, you will save time (because you’re not hunting for supplies) and end the year well (without the craziness of trying to reorganize everything before the next school year).
Happy organizing!
Other Helpful Organization Articles: