
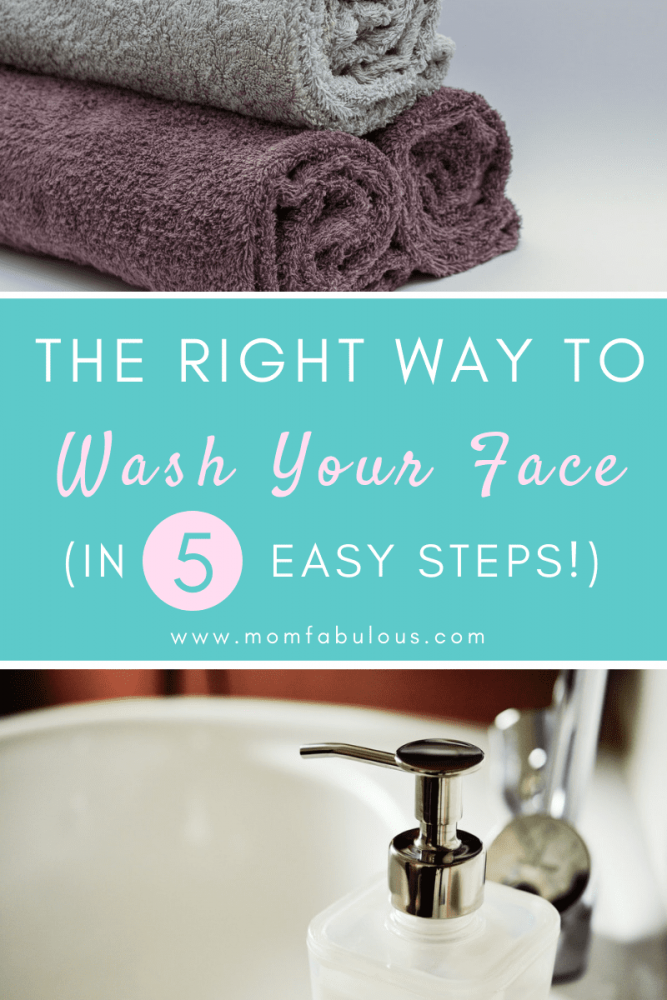
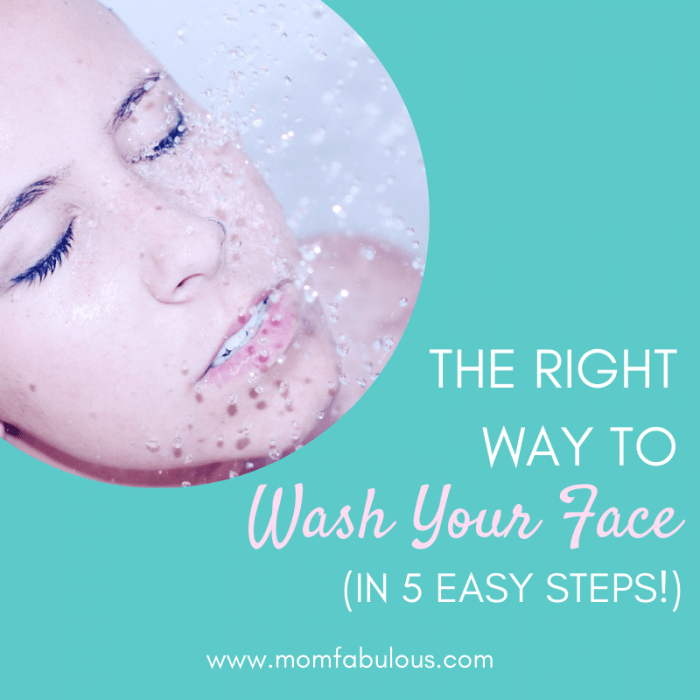
Has anyone ever taught you how to properly wash your face? I’m sure your parents did when you began to bathe yourself, or perhaps you learned how to remove makeup at the end of the day. But there is a proper method to cleansing your skin, and here’s the breakdown in 5 easy steps:
Step #1: Microfiber cloth with water
It’s time to ditch your standard washcloth! Switch over to a microfiber one instead. You’re probably thinking, “Oh, a microfiber washcloth can’t be that different from a regular one. It’s no big deal.” But that’s so far from the truth!
- The fibers of a microfiber cloth are finer than human hair, which allows the fabric to penetrate tiny spaces (like your pores) much more effectively than other cloths.
- Microfiber absorbs up to 8 times its weight, meaning it has the capacity to pull out and soak up excess oil from your skin.
- Additionally, microfiber can reduce bacteria up to 99%. Bye bye acne!
- Bonus: they also absorb less water than traditional washcloths, saving you money on your water bill.
Have you been convinced yet? What if these microfiber washcloths are soft to the touch, excellent for sensitive skin, and come in a variety of beautiful colors and patterns? Sold!
Begin your face washing routine by washing with a microfiber washcloth and water. This magical cloth will remove all of your makeup, including mascara. It will clean out your pores and even remove excess oil. Don’t pat your face dry just yet, it’s time to move to step #2.
You can get a high quality microfiber face cloth on Amazon here.
Step #2: Mild soap
Step #2 is optional, but encouraged. If you have highly sensitive or dry skin, consider skipping step #2. Used a mild liquid soap to gently cleanse your skin. Apply with your fingers or your microfiber washcloth. Tenderly massage your skin until all areas have been cleansed. To remove the soap, gently wipe your face gently using your microfiber washcloth. Rinse out the washcloth and repeat to ensure that you’ve removed all of the soap.
Why happens if soap remains on your face? It will dry out your skin and may clog your pores. Good thing your microfiber washcloth can remove and absorb all of the soap from your skin! Pat your face dry before the next step.
Step #3: Toner
If you thought that microfiber washcloth was luxurious and magical, wait until you try this face toner! A toner serves multiple purposes:
- Toners reduce blemishes from acne-prone or oily skin.
- It minimizes pores by removing oils and contaminants from your skin.
- Using a toner removes extra impurities from heavy makeup, sunscreen or sweat that were not captured by the microfiber cloth (or perhaps just an area that you missed…like your sideburns or eyebrows).
- This toner even gets rid of chlorine or minerals present in tap water that get trapped in your pores!
- A toner restores your skin’s natural pH levels. Skin is naturally acidic while soap is often alkaline. After washing your face, your skin works on overtime to regain normal pH levels; a toner speeds up that process.
- It works as a skin cleanser when you’re on the go. Forgot your microfiber washcloth? A quick swipe of a toner will revitalize your skin for the moment.
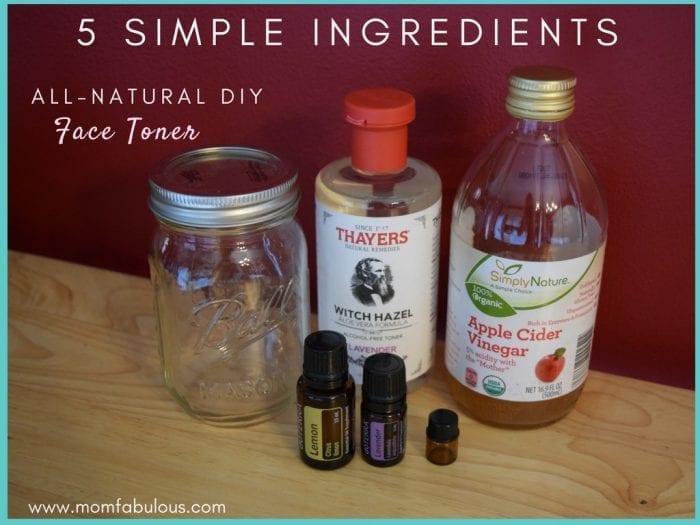
You can purchase a toner from most makeup brands, but it’s more simple and cost effective to make your own. All you need is apple cider vinegar, water, and witch hazel, plus any essential oils of your choice. Swipe over your face and neck with a cotton ball. Allow to dry before progressing to step #4. Find the full recipe for a DIY all natural face toner here.
Step #4: Treatments and serums
You face is cleansed and ready for the follow up. Use acne gels, eye creams, or anti-aging serums during this step. Apply liberally and, as usual, allow to fully dry before you go on to the next step.
Hint: Looking for an effective treatment for acne or blemishes? Try a dab of lemon essential oil! Don’t use a carrier oil; just take a small drop onto your clean fingertip or a q-tip and dot it directly onto the blemish. It may feel tingly for a moment, but that will dissipate within a minute. Lemon is naturally antibacterial and antimicrobial and purifying properties.
Caution: do not apply near your eyes or nostrils, and do not use over an open area (such as a freshly popped pimple or a bleeding zit).
Step #5: Moisturize
No skin care regime is complete without a moisturizer. This step seals in the active ingredients in your treatments and serums, plus nourishes your skin. What happens if you don’t moisturize? Your dried out skin overcompensates by producing extra oils, which means enlarged pores and potential for more acne. No thank you!
Gently rub in the lotion in a circular motion over your entire face and neck (and chest if necessary). Don’t oversaturate your skin with the product; use just enough to cover each area. If you feel that one particular spot is extra dry, apply a second coat as needed.
Now what?
Your skin looks fabulous. Hopefully it feels luxurious as well! Now what can you do with your clean and moisturized skin? At this point, you can finish your skincare routine by
- Applying sunscreen. You can also use a moisturizer or concealer that contains SPF.
- Using a makeup primer. This prevents your makeup from soaking into your skin and damaging all of your effort that you put into cleansing your face!
- Apply makeup as usual.
At the end of the day, start over at step #1.
Your skin is glowing. It’s radiating a healthy vibe and looks well nourished. Keep up these 5 steps to maintain your beautiful skin!